Plastic Sorting by Perception STUDIO
Hyperspectral Plastic Sorting - One Click Classification

Even at the end-of-life phase, plastics remain a too valuable resource to be simply thrown away. If Europe was exploiting the full potential of plastics waste still landfilled applying today’s best recycling and energy recovery practices and technologies in an eco-efficient manner, this could lead to:
- 5 million tons of plastics additionally recycled, preventing the emission of 7 million tons per year of CO2 (equivalent to taking 2,4 million cars off the road)
- An additional generation of 300 TWh of heat and electricity, equivalent to 23% of Europe gas imports from Russia

Source: Plastics - The Facts 2016; Plastics Europe; (http://www.plasticseurope.org/documents/document/20161014113313-plastics_the_facts_2016_final_version.pdf#page=26)
Such improvements will require appropriate actions to stop landfilling of plastics and the establishment of recovery-oriented collection schemes. These will need to be aligned with modern sorting infrastructure and improved recycling and recovery processes in order to exploit the fullest potential of this precious resource. Furthermore, with a focus on high quality and market standards, this will stimulate markets for the more resource efficient use of end-of-life plastics throughout Europe. (Source: http://www.plasticseurope.org/what-is-plastic/recycling-recovery.aspx)
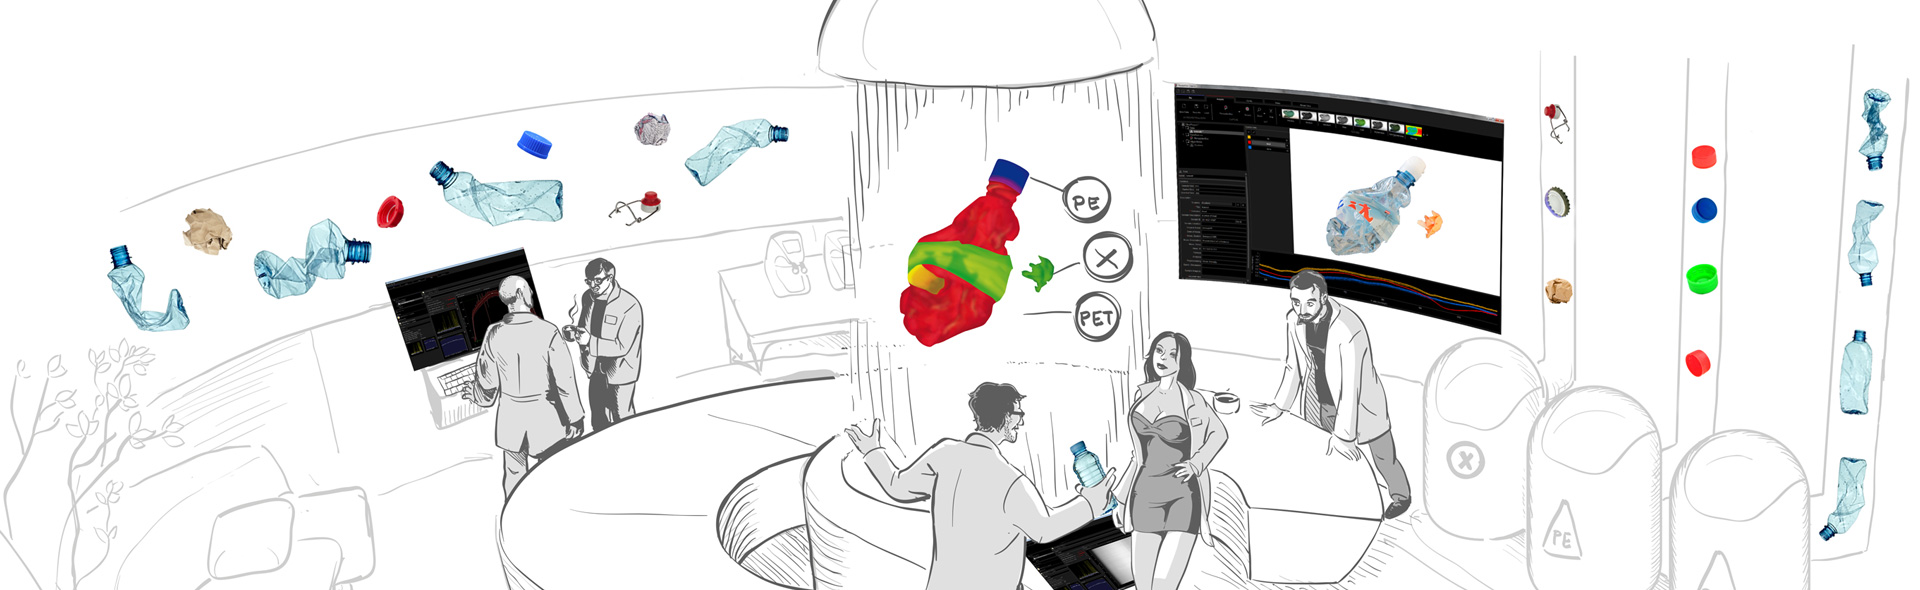
 The following example shows the great potential of the Chemical Colour Imaging technology to properly recover various plastics in a single step. Here we present how Chemical Colour Imaging is applied by the Perception STUDIO and its “ONE-CLICK-CLASSIFICATION” for plastic flake sorting.
The Perception STUDIO provides an easy-to-use 6 step workflow to independently develop a plastic sorting application while saving up to 95% of the development time.

Step 1 - Connect a camera by plug & play:
Connecting a proper hyperspectral camera to the Perception STUDIO. If the camera type is supported the camera will be detected automatically by the Perception STUDIO.
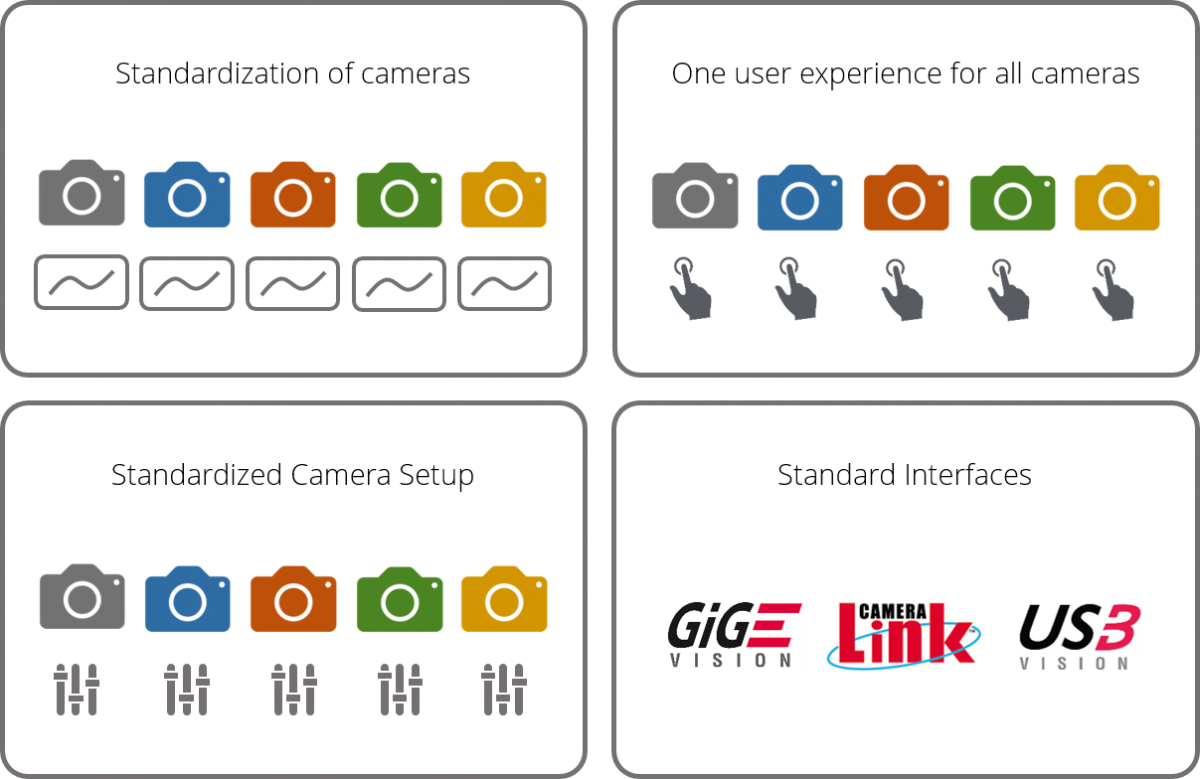
Especially for sorting applications where customers usually sell many machines per year, it must be ensured that the camera in the first machine works in the same way as the camera in the second and third. Additionally, for different applications, cameras from different manufacturers are preferred to use.
Therefore the Perception STUDIO takes care for the integration of different cameras and standardizes those. It further provides one single user experience for all supported cameras as well as a standardized camera setup process. This gives the user absolute independence to always use the best suited camera for its application. Needless to say, the Perception STUDIO supports standard interfaces.
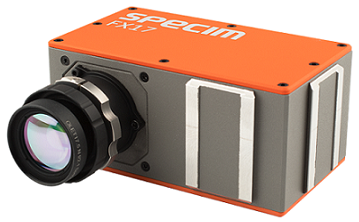
For the present plastic sorting application we decided to use the FX17 near infrared hyperspectral camera from the Finnish manufacturer SPECIM.
Step 2 - Record a representative scenery:
The next step is to record scenery that is representative for the application. In our sorting application we took ten different plastics with different colours and thicknesses. The size of the pieces were between 3 and 5 millimetres. The thickness was between less a millimetre and 3 millimetres.

Step 3 - Select representative objects:
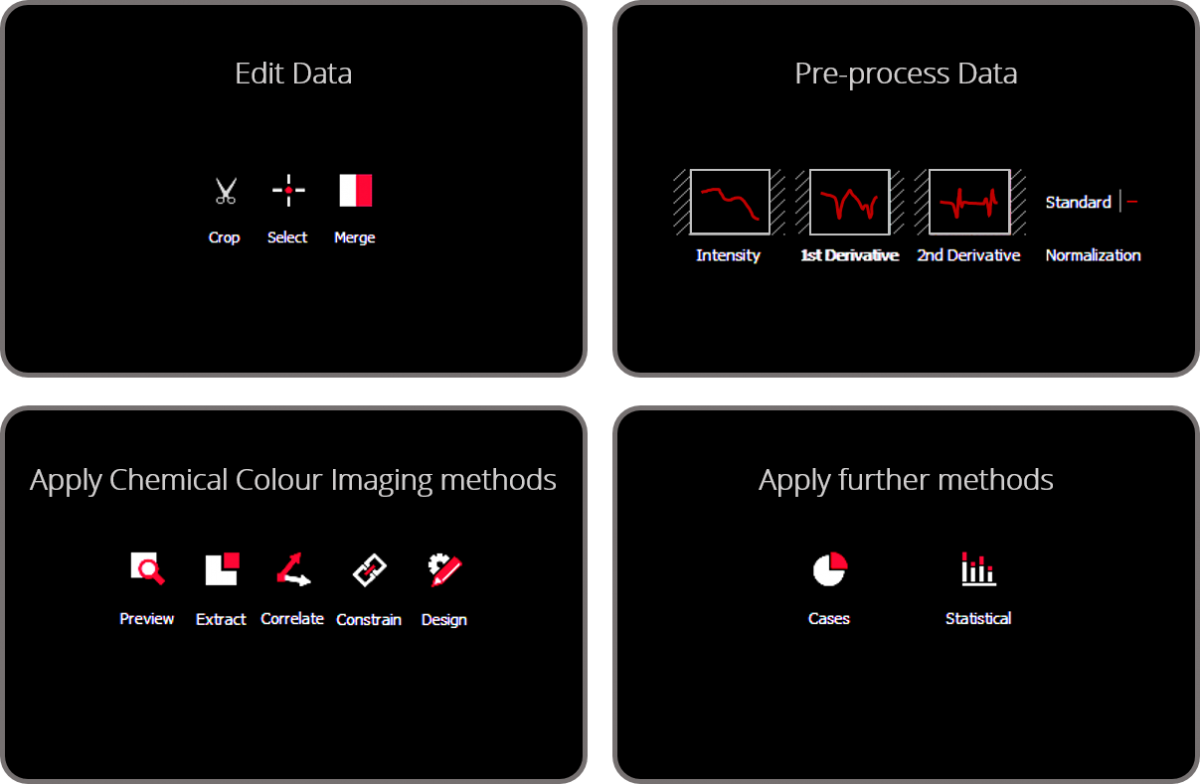
The Perception STUDIO provides several tools to handle hyperspectral data and to develop new applications within a visually guided process. There are tools to edit data, to apply various kinds of pre-processing to the data as well as to apply various Chemical Colour Imaging (CCI) methods. Additionally there are several further methods like our 1-CLICK-CLASSIFICATION.
The next step is to select that kind of objects that are representative for the sorting application. In our example we select one object from each type of plastic that should be classified. The selection is simply done by using your computer mouse, clicking into the objects of interest and name them.
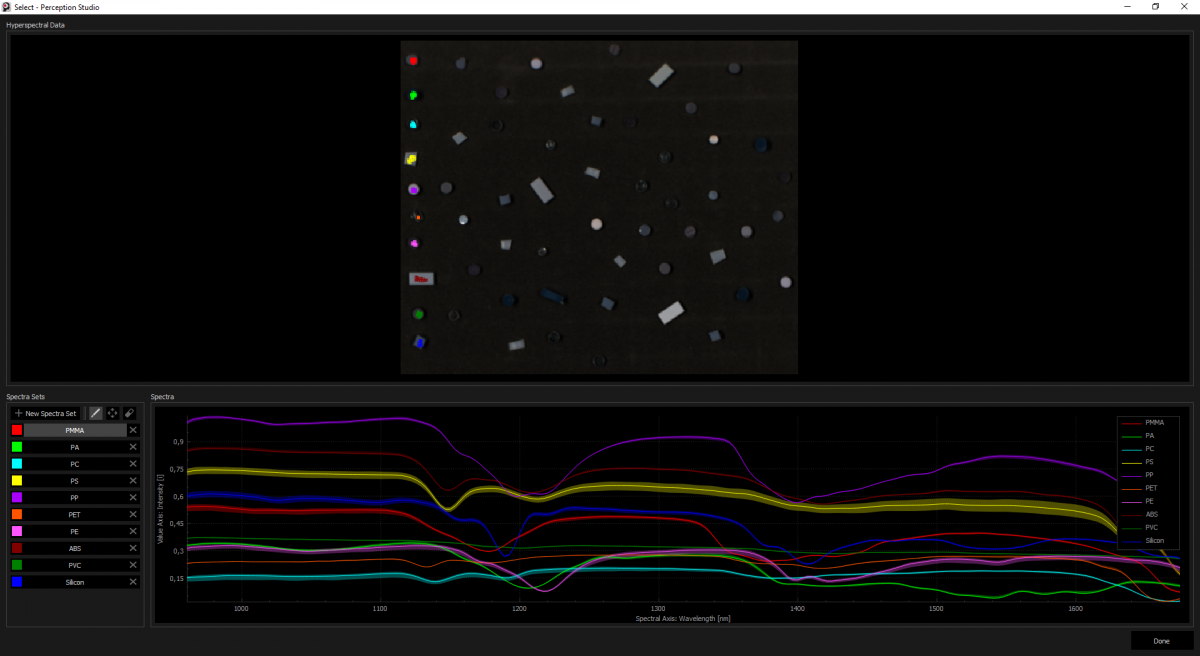
These selected objects are now the base for our application development. In the image above you can see the selected objects in the top window, the assignment of the objects to a "plastic type" in the bottom left window and the spectral information of the selected objects in the bottom right window.
Step 4 - Choose pre-processing
Choosing a proper pre-processing can be essential for the application development. The Perception STUDIO provides a simple way to look through different pre-processing methods. These methods can be quickly applied by just clicking on a relevant method. Here the Perception STUDIO shows its strengths - Every click gives direct feedback on your development.

The images above shows the output of three different pre-processing methods. In the left image the “chemical colours” of the plastics just slightly differ from each other. In the centre image as well as in the right image the Chemical Colours differ much stronger from each other but we see that there is less blurring in the centre image compared to the right one. If we want to differentiate plastics, we should choose a pre-processing method that shows us strong differentiations between the plastics and has a minimum of blurring within the image. So for this case we choose the pre-processing method represented in the centre image.
Step 5 - Model your application
To model an application the Perception STUDIO provides several tools. Those tools can be found in the ribbon bar at the top of the user interface. - see red rectangle in the image below. Further there are two image areas representing data. The left image shows the pre-processed data and the selected representative objects. The right image shows the output when applying additional methods like CCI-methods. The bottom right are is the working stage where we can adjust the output. The bottom left area shows spectral information and the feature model information.
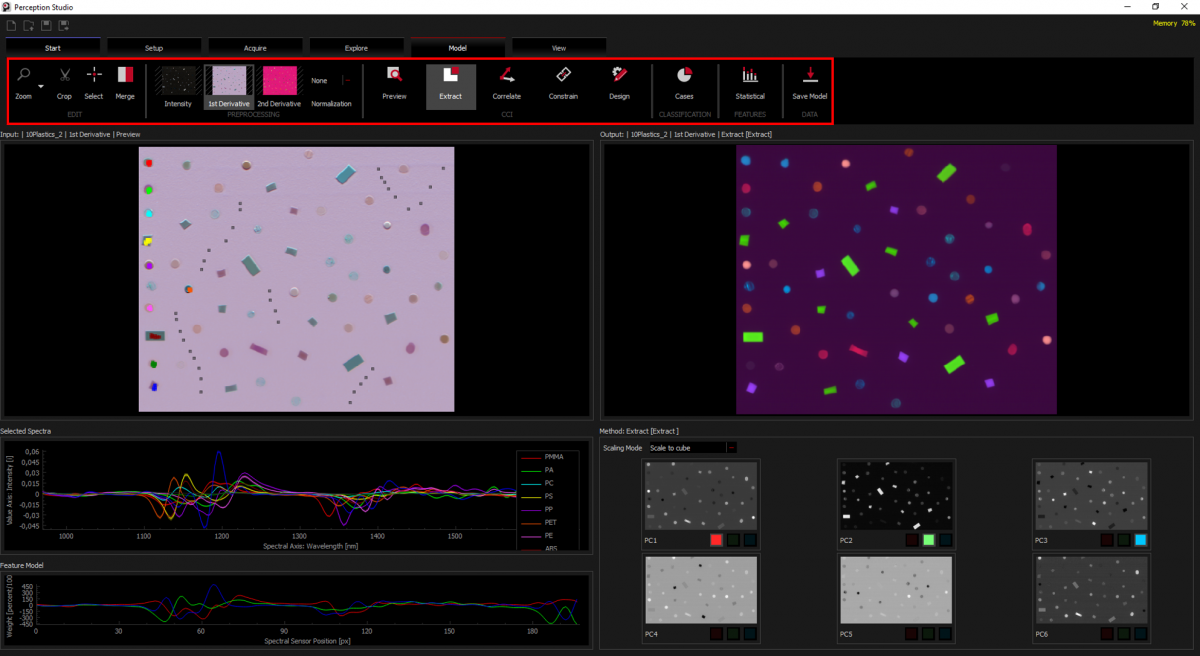
In the ribbon bar you can see the chosen pre-processing. Further we activated the Chemical Colour Imaging (CCI) method called “Extract”. When activating the Extract-method our output image directly changes. The Perception STUDIO extracts principle components from the data in an unsupervised process. The value per component is shown through a score image at the bottom right. By assigning colour channels to the score images, a CCI output image (right image) is generated. Once again the Perception STUDIO provides a direct feedback on every action we set.
In the output image we can see that many of the plastics can be differentiated. Using standard image processing tools this can be easily classified. Although we can differentiate most of the plastics, some of them are represented by quite similar Chemical Colours. This is caused by the fact that we can only assign 3 colours (red, green, blue) to the principal components.
ONE-CLICK-CLASSIFICATION
To overcome this limits we introduced our “ONE-CLICK-CLASSIFICATION”. The “ONE-CLICK-CLASSIFICATION” works very well for many applications and has the advantage that the Perception STUDIO generates a unique classifier for each pixel.
To apply the “ONE-CLICK-CLASSIFICATION” we activate the “Cases” button in the ribbon bar. A new perspective appears. In the bottom window we can now manually define the classifiers for the objects or we just press the “Auto” button (red arrow) and the system generates a classification automatically and shows the results in the output window on the right.

In the bottom window the different classes appear. Using the slider next to each class we can define the sensitivity for each class. Also this changes directly appear in the right output image. This allows you to develop new applications and to fine-tune it in a very short time. You always have full control and understanding because you get direct feedback on every action.

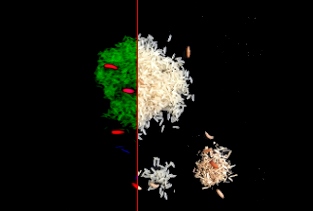
Finally compared to the real image we can see a 100% detection for this example. Based on the classified data you can now easily find objects or generate statistics based on the objects.
Step 6 - Compile application for real-time processes
Especially for recovering plastics but also for applications to detect impurities, high-performance sorting machines are needed. You can realise such machines easily by using the Perception STUDIO. Once you have developed an application in the Perception STUDIO, this application can be compiled for our real-time engine. This engine can be seen as a real-time adapter representing chemical properties by a vision format or by providing a machine with classified data. Of course standard interfaces are supported.
In addition our real-time engine can be configured with various different applications if one machine should be used for different jobs. For example the same machine can be used to detect PVC parts in a stream of PET on one day and on the other day it differentiates PP plastic from PE plastic.
Detecting PVC plastics in a stream of PET flakes

In this customer application transparent PVC parts (red) had to be detected as impurities in a stream of transparent PET flakes (cyan). The material size was between 3 and 8mm.
Separating PP plastics and PE plastics
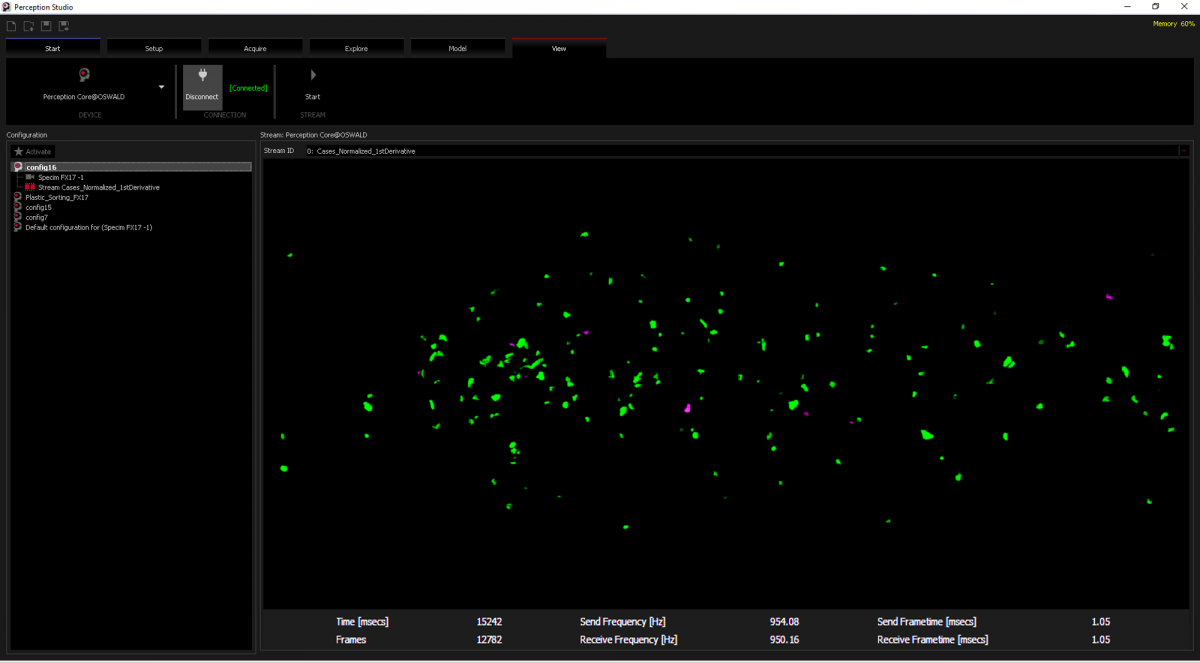
Another application is the differentiation between PP (green) and PE plastics (magenta).
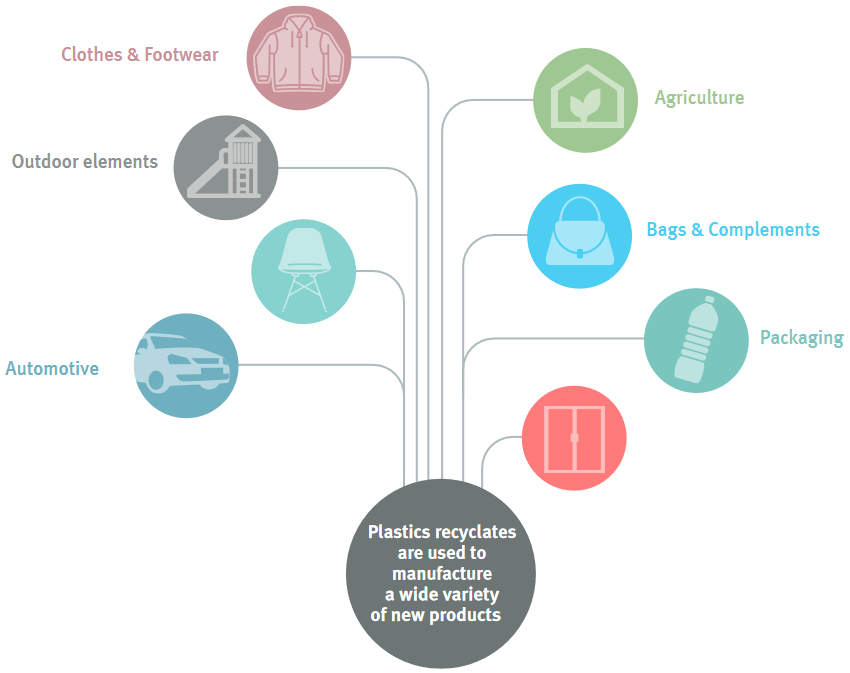
What can recyclates be used for?
Well, recycled plastics can be reused for many things. There are many products in our daily use that already have or at least could have recycled materials inside. Anyhow, at the moment we don’t tap the full potential in plastics recycling even though we now have the technical possibilities e.g. by using the Perception STUDIO.
 Plastics - The Facts 2016; Plastics Europe; - (http://www.plasticseurope.org/documents/document/20161014113313-plastics_the_facts_2016_final_version.pdf#page=27)
Thanks to their unique properties, plastic materials are essential in many applications and often make the impossible possible. However, to take full advantage of the benefits of plastics, its products need to be properly recovered and managed when they reach the end of their service life. It is simple, plastics are just too valuable to be wasted or thrown away. (Plastics - The Facts 2016; www.plasticseurope.org)
related articles


Follow Us


© Perception Park - CHEMICAL COLOUR IMAGING 2017